


Last Updated: November 19, 2026
Quick Summary
To use clipper over comb, hold a flat cutting comb in your non-dominant hand and lift the hair away from the scalp, then run the clippers flat along the comb's spine in short strokes of 1 to 2 inches. The comb controls length and the clippers only cut hair above the teeth. Overlap each pass by about half the comb width to avoid weight lines.
- For learning clipper over comb, run the clipper with no guard or a 1/16-inch guard.
- Hold the comb so the spine faces the clippers and the teeth point into the hair.
- Set the comb at roughly a 90-degree angle to the head at the start, then tilt as you move up.
- A smaller gap between comb and scalp means shorter hair; a larger gap means longer hair.
- Practice in 20- to 30-minute sessions two or three times a week on a mannequin head for the first two weeks.
Table of Contents
- What Is the Clipper Over Comb Technique? A Clear Definition
- Tools You Need: Clippers and the Right Clipper Over Comb Comb
- How to Hold the Comb and Clippers for Control
- Step-by-Step: Lifting Hair, Comb Angle, and Clipper Movement
- Using Clipper Over Comb for a Fade and Blending the Sides
- Common Beginner Mistakes and How to Fix Uneven Blends
- Practice Plan, Safety, and Adapting to Hair Types
- Stock Your Station With Gentlemen Republic Tools
- Frequently Asked Questions
What Is the Clipper Over Comb Technique? A Clear Definition
The clipper over comb technique is a haircutting method where you run clippers over the top of a comb to cut and blend hair to a chosen length. Because the comb controls how much hair the clippers remove, it also helps to understand how guard lengths can blend hair with clippers when shaping the transition between sections.
Here is the core idea in one line: clipper over comb is a blending method where a comb acts as a moving guide, and the clippers cut whatever hair sits above the comb's teeth.
Why does it matter so much? Because it lets you remove bulk and blend the sides into the top without a hard line.
Most new barbers reach for guards and forget the comb. That is the first thing to fix. The comb gives you control that a guard alone never will.
Tools You Need: Clippers and the Right Clipper Over Comb Comb
A clipper over comb comb is a flat cutting comb with fine teeth, and it is the single most important tool for this technique. You also need a clipper with steady power and a blade that stays cool.
Here is what belongs at your station:
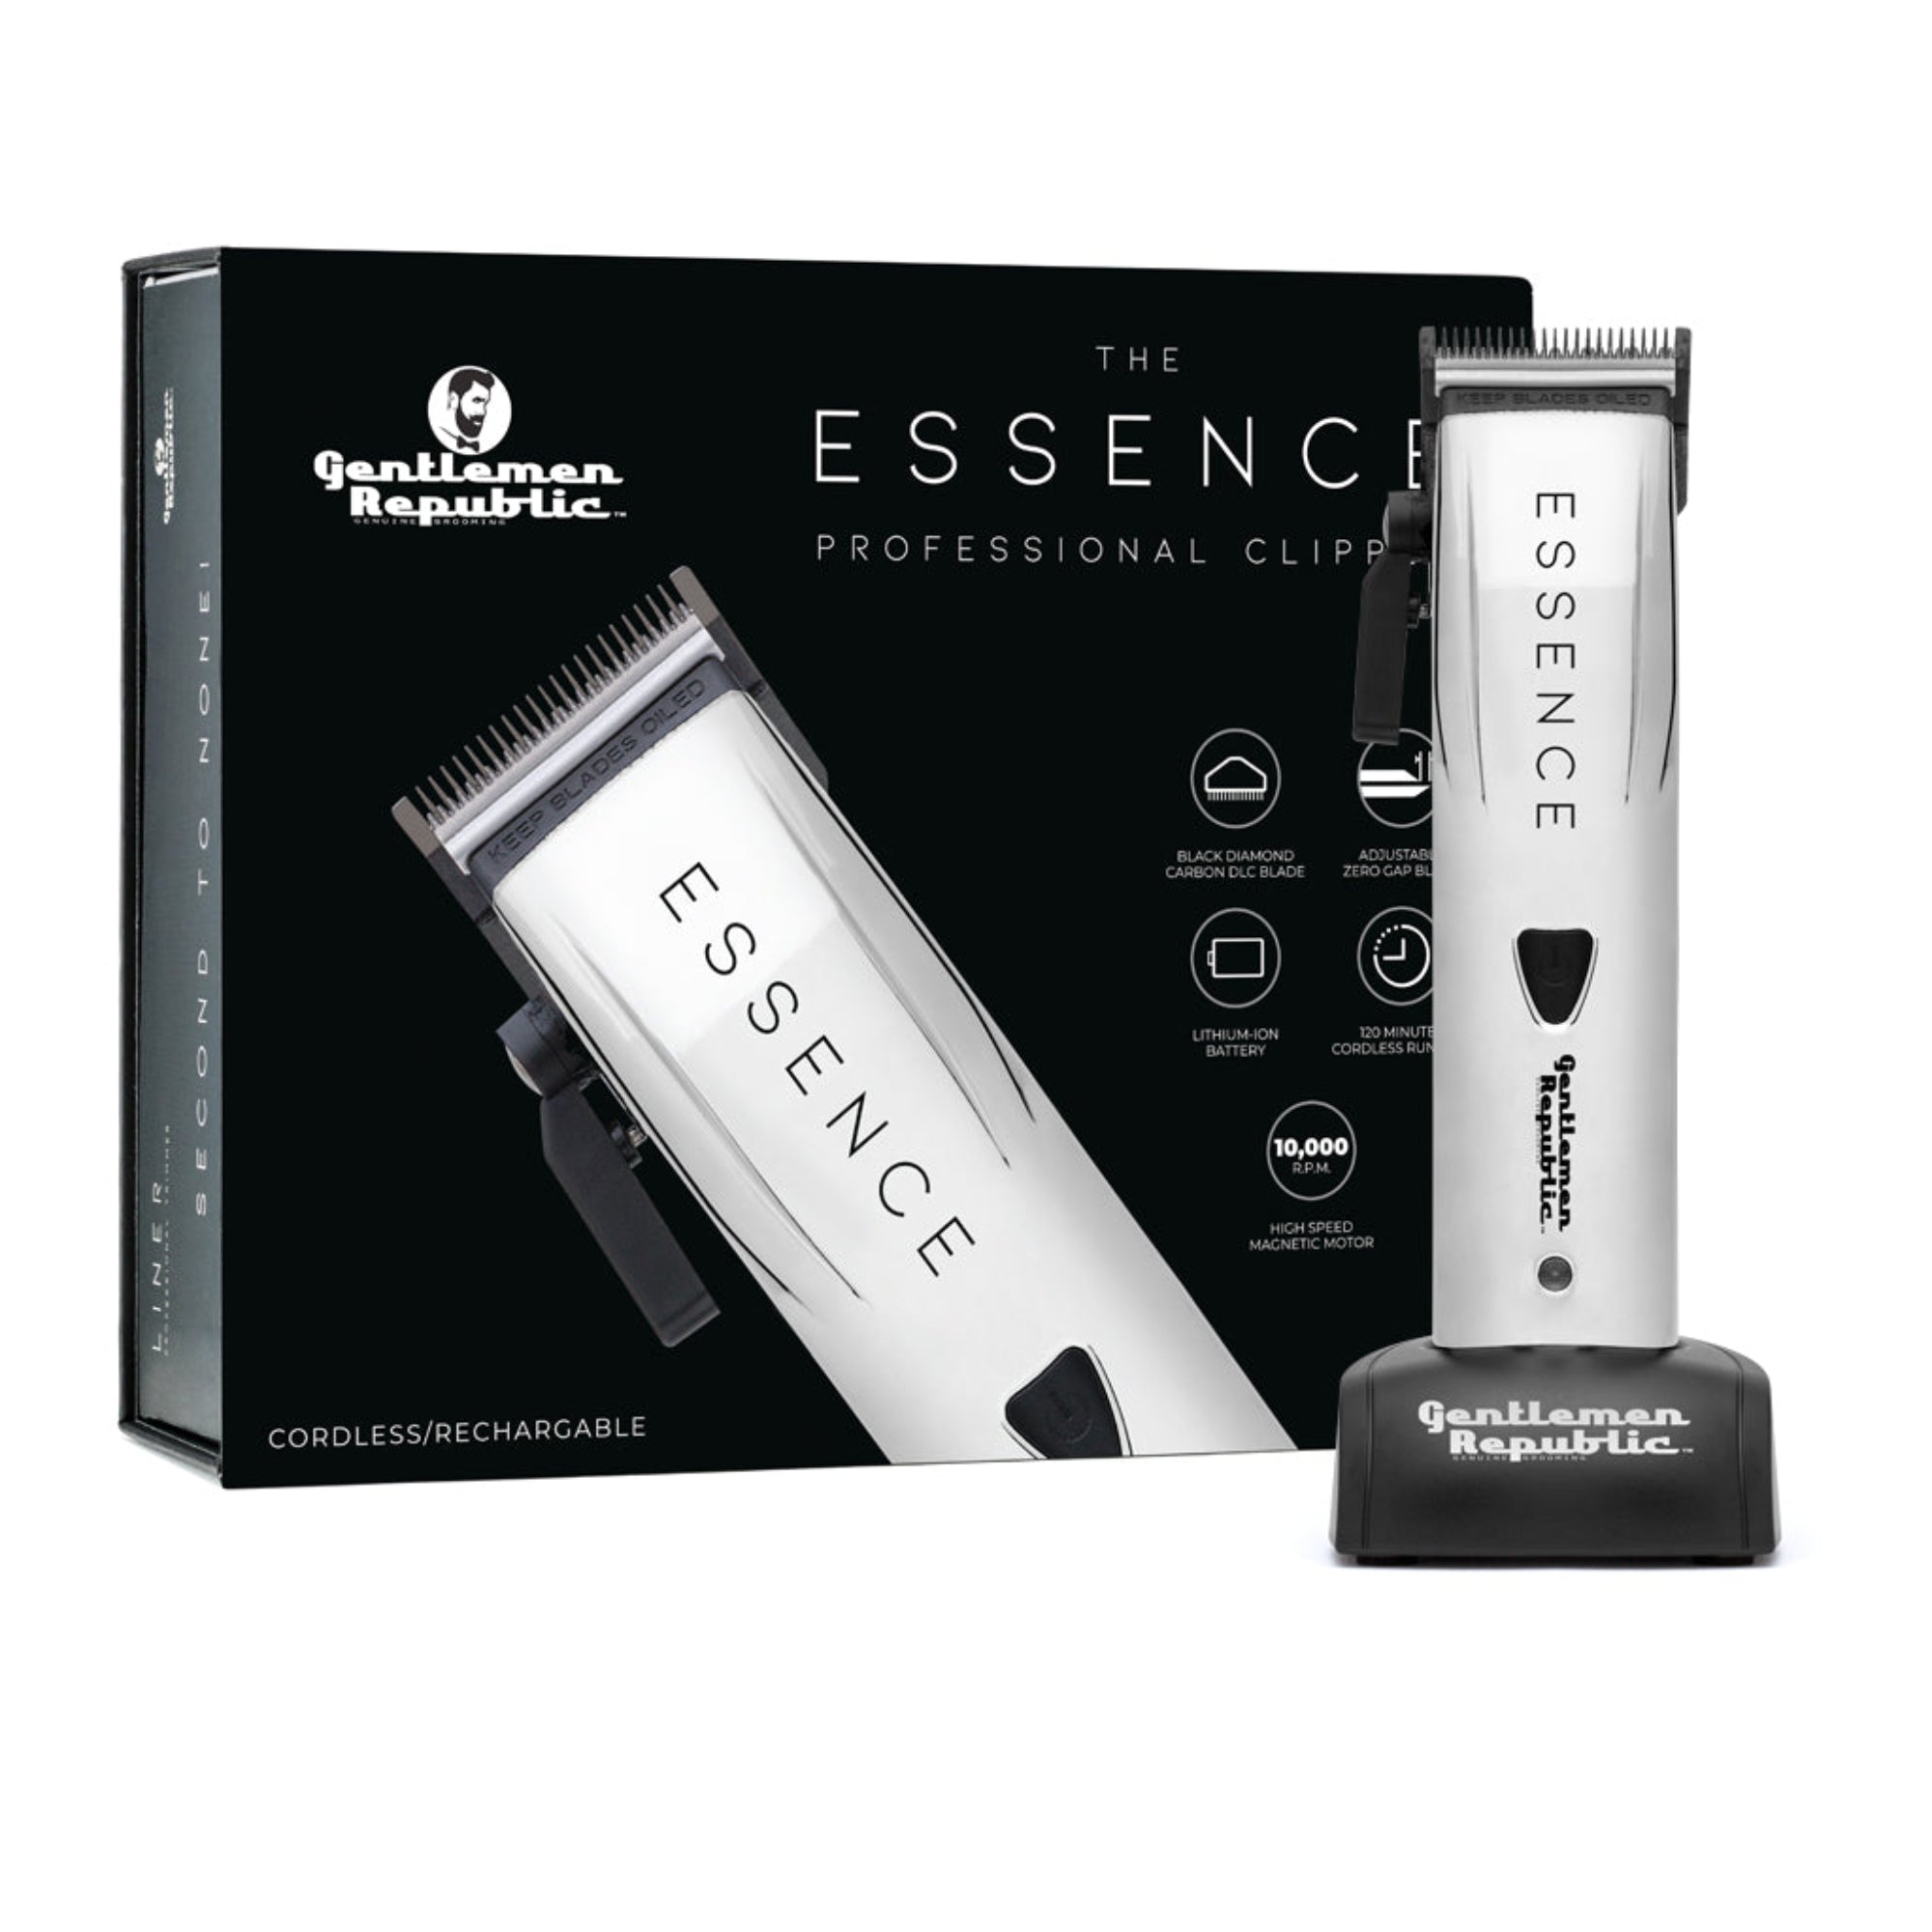
- A professional clipper. The Essence Hair Clipper for Barbers and Stylists runs a 10,000 RPM motor and uses DLC blade technology. For learning, consistent power delivery matters more than speed.
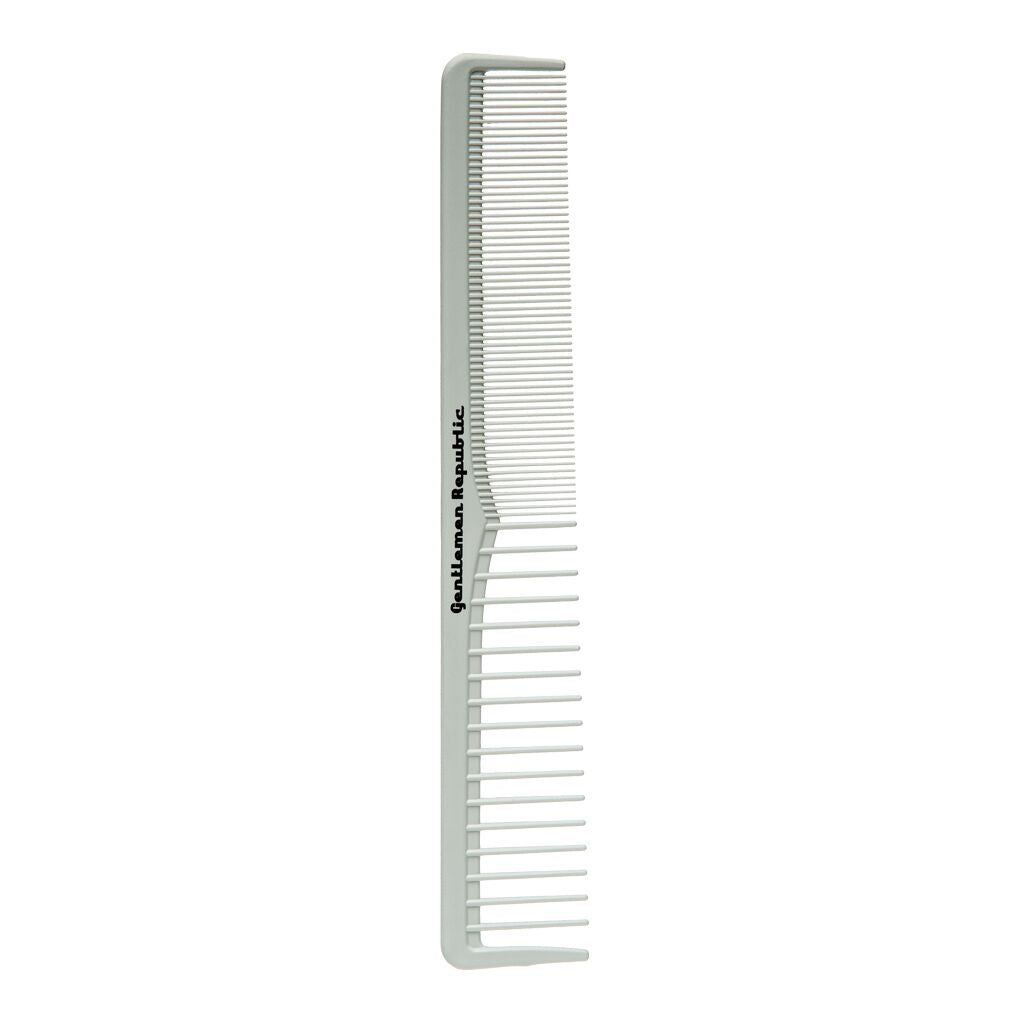
- A cutting comb. The Cutting Comb is built from carbon, ceramic and steel and is made to withstand temperatures up to 450 degrees Fahrenheit.
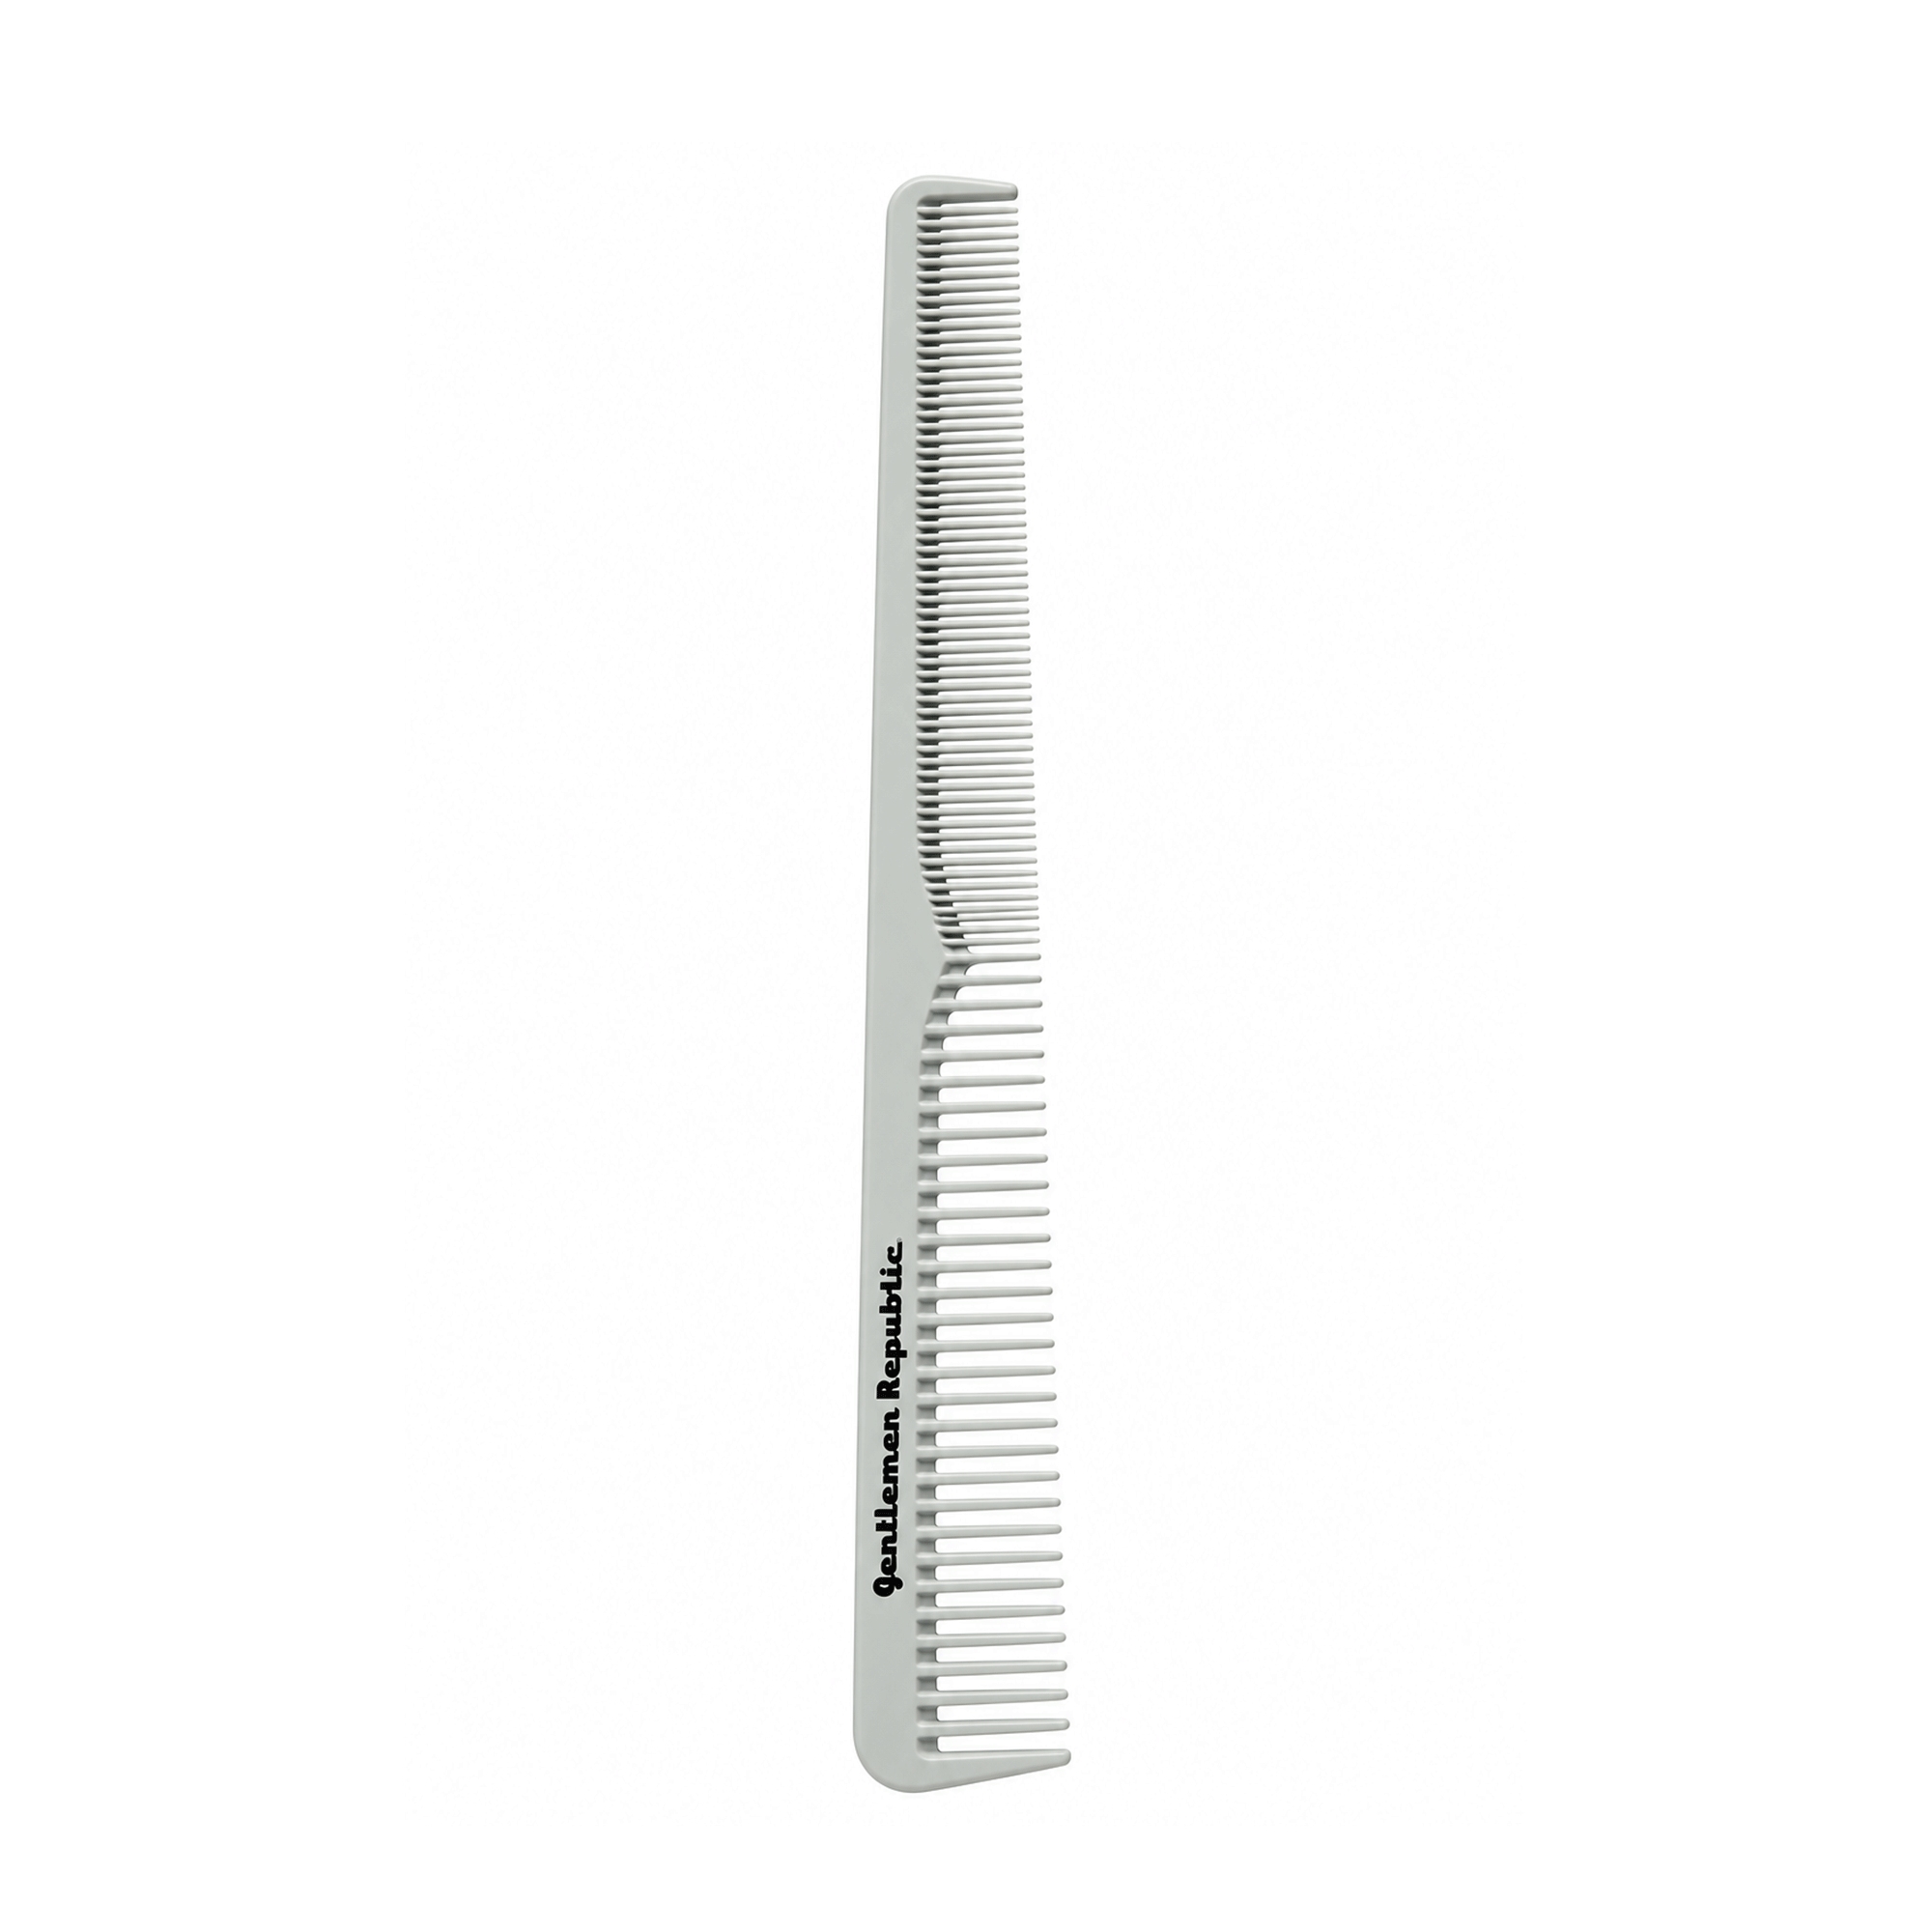
- A taper comb. The Taper Comb is built from carbon, ceramic and steel and is made to withstand temperatures up to 450 degrees Fahrenheit.
How to Hold the Comb and Clippers for Control
Grip is where beginners lose control. Hold the comb in your non-dominant hand with your thumb and first two fingers, and let the spine rest against your palm.
The clippers sit in your dominant hand like a pencil you are about to write with.
Two rules keep your cuts clean:
- Keep the comb not flat against the head. Tilt it slightly so the teeth lift the hair away from the scalp.
- Move from the wrist. Small, steady strokes beat big sweeping ones.
A common mistake is gripping the clippers so hard your hand shakes. Relax. Control comes from a light grip, not a tight one.
Step-by-Step: Lifting Hair, Comb Angle, and Clipper Movement
Start with dry hair and a clean section. Work on the sides and back first, and clip the top out of the way.
Tool setup that changes how much hair comes off:
-
Guard choice. For learning clipper over comb, run the clipper with no guard or a 1/16-inch guard. The comb, not the guard, controls length here. A guard longer than 1/8 inch defeats the purpose because it blocks the blade from reaching the hair above the comb teeth.
-
Blade position. Set the blade to its standard cutting position, not fully extended. A fully extended blade takes more hair per pass and is harder to control while you are learning.
-
Comb spine orientation. Hold the comb so the spine (the solid back edge) faces the clippers and the teeth point into the hair. The clipper blade rides on the spine, not on the teeth.
The cutting sequence:
- Set your comb angle. Hold the comb at roughly a 90-degree angle to the head at the start, then tilt it as you move up. The angle between the comb teeth and the scalp sets how much hair is lifted.
- Lift the hair. Slide the comb teeth into the hair and lift away from the scalp. The gap between comb and scalp sets your hair length. A smaller gap means shorter hair; a larger gap means longer hair.
- Follow the shape of the head. Roll the comb as you move up and around the curve of the skull. Keep the comb parallel to the head shape, never digging in. On the curve above the ear, the comb has to roll outward to stay parallel.
- Run the clippers along the comb. Rest the blade flat on the comb's spine and move upward in short strokes, about 1 to 2 inches per stroke. Cut only the hair above the teeth. The blade should glide on the spine, not press into the teeth.
- Overlap your passes. Each stroke should overlap the last by about half the comb width so you never leave a weight line.
- Check as you go. Comb the hair down, look at the blend line in a mirror at eye level, and adjust before moving on.
Your comb is the guide, so if the comb angle is wrong, the cut is wrong.
Here is the cutting sequence to follow once your tools are set up.
| Step | What to do | Key detail |
|---|---|---|
| 1 | Set your comb angle | Roughly 90 degrees at the start, then tilt as you move up |
| 2 | Lift the hair | Smaller gap means shorter hair; larger gap means longer hair |
| 3 | Follow the shape of the head | Roll the comb as you move up and around the skull |
| 4 | Run the clippers along the comb | Blade flat on the spine, short strokes of 1 to 2 inches |
| 5 | Overlap your passes | Overlap each stroke by about half the comb width |
| 6 | Check as you go | Comb hair down and check the blend line at eye level |
Using Clipper Over Comb for a Fade and Blending the Sides
For a clipper over comb fade, you blend the sides into the top by working from the bottom up, removing bulk in stages. This is tapering at its core: short at the bottom, longer as you climb.
Here is how we would approach it:
- Start low. Cut the bottom of the sides short with your clippers and a guard, then switch to comb work above the fade line.
- Climb in stages. Move the comb up a little at a time, lifting less hair as you go higher.
- Blend the sides into the top. Use the comb to bridge the short sides and the longer top so no hard line shows.
The blend line is where beginners get exposed. Keep your comb angle consistent and your passes overlapping. Graduation, or the gradual change in length, is what makes a fade look smooth instead of stepped.
Common Beginner Mistakes and How to Fix Uneven Blends
Uneven blends come from three things: a tilted comb, a dull blade, or moving too fast. Fix those and most weight lines disappear.
Watch out: pressing the clippers hard into the comb digs the blade in and leaves a visible line. Let the blade glide.
Quick fixes for the most common problems:
- Visible weight line: go back over the line with a slightly lifted comb and blend upward in small passes.
- Patchy spots: overlap your strokes and keep the clipper angle steady.
- Clipper marks: check your blade and slow down. Fast passes skip hair.
If you want the full path to a sharp, professional-looking finish, our guide on how to get a professional barber look walks through the broader steps.
Practice Plan, Safety, and Adapting to Hair Types
A structured practice plan beats random cutting. Set aside 20- to 30-minute sessions, two or three times a week, and focus on one skill at a time. Use a mannequin head for the first two weeks so you are not learning on a person's scalp.
A four-week beginner practice plan with checkpoints:
- Week 1, Grip and lift only. No clippers running. Practice holding the comb, sliding the teeth into the mannequin's hair, and lifting away from the scalp at a consistent gap. Checkpoint: you can lift the same amount of hair three passes in a row without the comb slipping.
- Week 2, Comb angle around the curve. Run the clippers on the comb but only on the side of the mannequin head. Focus on rolling the comb around the curve above the ear. Checkpoint: the hair length changes gradually from bottom to top with no visible step.
- Week 3, Blending one section. Work only on a 2-inch-wide section on the back of the head. Overlap every pass by half the comb width. Checkpoint: comb the section down and see a smooth transition from short to long with no weight line.
Safety and sanitation:
- Disinfect clippers and combs between clients with an EPA-registered barbershop disinfectant, following the label's contact time.
- Brush hair out of the blade after every cut and oil the blade before storage.
- Never cut over moles, bumps, or irritated skin. Comb the hair aside and cut around them.
Occupational Safety and Health Administration bloodborne pathogens standard
Adapting to hair types and head shapes:
- Dense, coarse hair. Use a firmer comb grip and take smaller lifts per pass. Thick hair holds bulk, so you may need two or three passes at the same comb height before moving up.
- Fine hair. Use a lighter touch and a sharp blade. Fine hair shows clipper marks quickly, so slow down and overlap more.
- Curly and textured hair. Lift with the comb teeth fully engaged and cut with the grain of the curl pattern where possible. Curly hair shrinks as it dries, so leave slightly more length than the final look suggests.
For a deeper look at working with textured hair, read our guide on professional barber tips for textured hair.
Stock Your Station With Gentlemen Republic Tools
Good technique only goes as far as your tools let it. Gentlemen Republic offers clippers and combs designed for professional use.
Here is what we would put on your station:
- The Essence Hair Clipper for Barbers and Stylists for steady power and cool running blades.
- A Barber Neck Duster for cleaning hair from the neck, ears, and face.
- A Magnetic Station Mat with six magnets to hold clippers, trimmers, and shears at your station.
Start with the comb, master the angle, and let the clippers do the rest. Every clean fade begins with control.
Mastering clipper over comb takes practice, but the right tools make every session smoother. Gentlemen Republic gives you professional-grade clippers and combs built for control, precision and dependable daily use.
Frequently Asked Questions
How do you hold the comb when using clipper over comb?
Hold the cutting comb in your non-dominant hand with your thumb and first two fingers, keeping the teeth angled slightly away from the scalp rather than pressed flat. The comb should rest so the spine sits near the head and the teeth lift hair outward. This angle lets the clipper glide along the comb's edge and remove length evenly. Keep your wrist relaxed and pivot from the elbow so the comb follows the curve of the head instead of digging in.
Which comb is best for clipper over comb?
A cutting comb with fine, closely spaced teeth gives the most control for clipper over comb work, especially on the sides and back. A taper comb works well for tighter areas around the neck and ears. The Gentlemen Republic Cutting Comb is built from carbon, ceramic, and steel and is made to withstand temperatures up to 450 degrees Fahrenheit.
How do you use clipper over comb to blend a fade?
Start at the lowest point of the fade and work upward, using the comb to lift hair away from the scalp in small sections. Move the clipper along the comb's teeth with the blade flat, then gradually increase the comb's distance from the head as you climb toward the blend line. Overlap each pass slightly and check your work from multiple angles. Keep the clipper angle consistent so the transition from short to longer hair stays smooth rather than stepping.
What are common clipper-over-comb mistakes beginners should avoid?
The most frequent errors are pressing the comb flat against the head, which removes too much bulk, and moving the clipper too fast, which leaves visible weight lines. Beginners also tend to hold the clipper at an inconsistent angle, causing an uneven finish. Slow down, keep the comb's teeth angled outward, and make overlapping passes. Check the blend in a mirror under good light before finishing, and clean your tools between clients to meet hygiene standards.
Why use clipper over comb instead of a guard?
Clipper over comb gives you control a fixed guard cannot, because the comb lets you adjust hair elevation continuously as you move around the head shape. That flexibility makes it easier to blend the sides into the top and taper around the ears and neck without hard lines. Guards are faster for bulk removal, but the comb technique produces a smoother, more precise finish, which is why barbers rely on it for fades and detailed blending work.



Share:
8 Reasons Hair Products Lose Hold Outdoors and How to Fix It